

How To Paint A Burst Finish Guitar
I commencement stripped and refinished this guitar a decade agone. It's a 1983 Greco Mint Collection made with a leftover Super Real cervix that I bought as a husk back in the days when you could pick these up for about £300. It was my first attempt at a Burst-style refinish and for a long time I've been feeling I could do a improve task.
Having learned a few new skills in the past few years, I'one thousand going to accept things a chip further. As I've had the opportunity to play numerous examples from the 1950s my tastes have evolved – nowadays I prefer tops with moderate curly figuring and slim necks feel all incorrect.
This time around, I'm veneering the top, but the big challenge is spraying a sunburst stop that looks closer to the Gibson examples of the 1950s. For this I'll be showing how you can mix and spray your ain lacquer without having to purchase specialist equipment.
Strip downward
Nosotros're parachuting into this project at about the halfway point because I've covered many of the tasks earlier. In short, after stripping the terminate using Nitromors, I remove the body binding and separate the fretboard from the neck to mucilage veneer onto the back of the 'board and increase neck depth. If you want to learn more well-nigh this, bank check out my Goldtop and Gretsch Anniversary conversion projects on Guitar.com.
I learned how to veneer a curved surface using a vacuum press when I was restoring my Gretsch. Subsequently I did information technology myself using a vacuum storage pocketbook when I needed to conceal the inlays and filled post holes on my Goldtop conversion. The difference with both those guitars is that they are veneered with single pieces, simply for a Flare-up-style superlative, I need bookmatched veneer.
Some people practice this by cut the veneer to recoup for the curvature, just that strikes me as very challenging and maybe across my woodworking abilities. Instead, I decide to test the hypothesis that glued joints are actually stronger than wood fibres, and join the veneer pieces before gluing them onto the guitar.
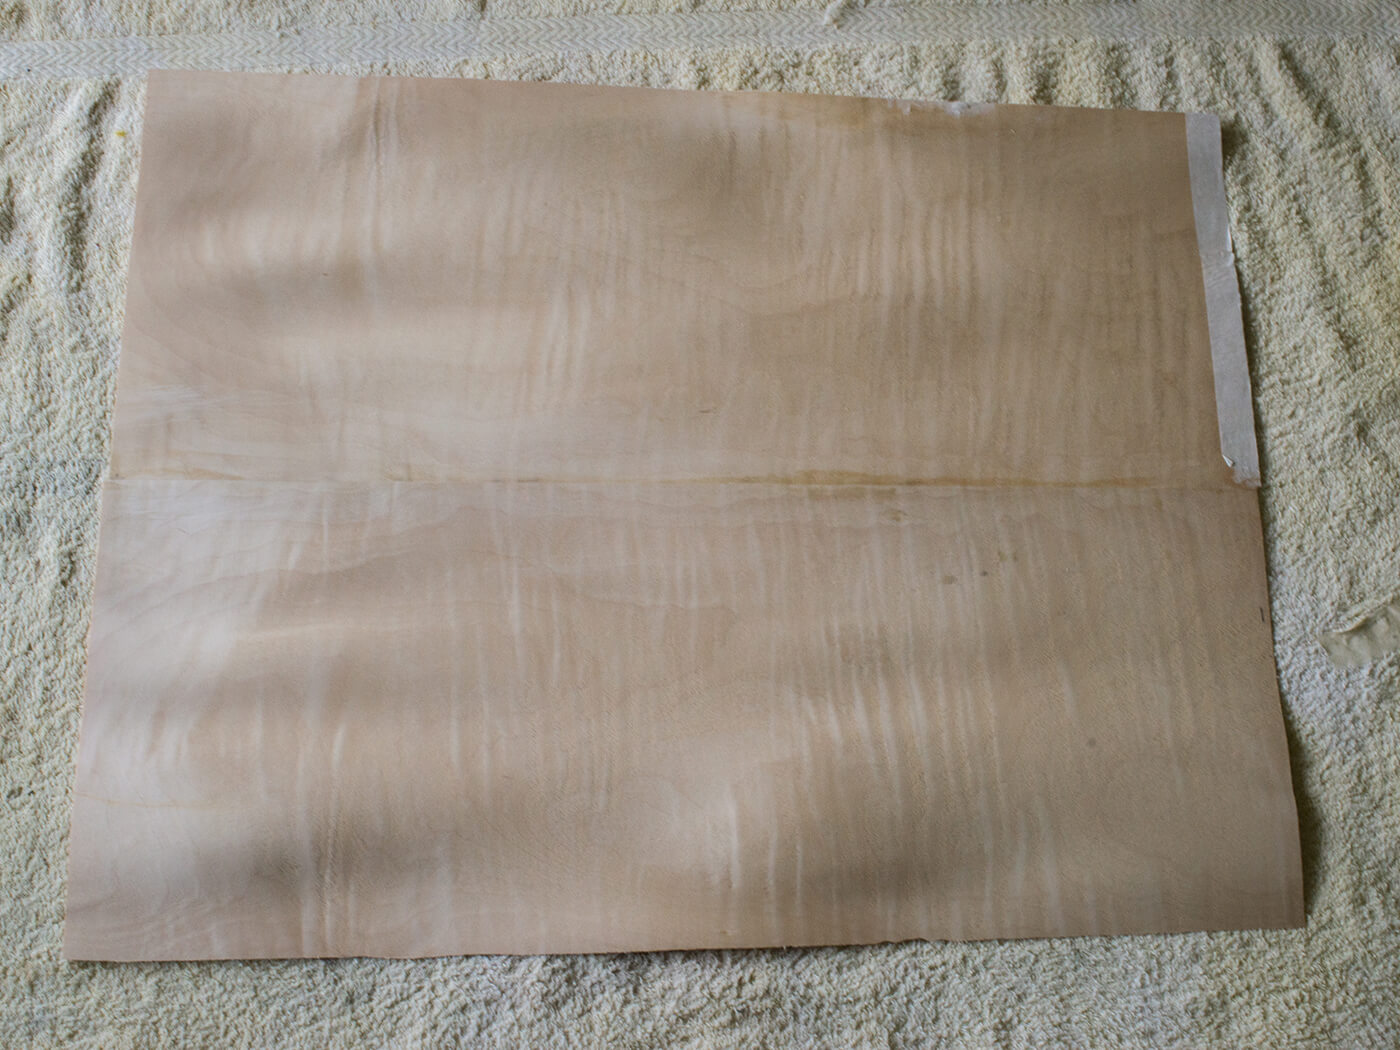
The veneer I'chiliad using came from eBay. It's a surprisingly good source for materials of this sort and after searching for 'figured maple veneer', I chose the i I liked best. Although the veneer is only about 0.4mm thick, I arroyo joining the ii pieces just as I would acoustic guitar back plates.
The veneer pieces are placed i on top of the other, aligned as closely as possible and clamped to a shooting board. I retract the bract on my longest airplane, attach 320 grit paper using double-sided tape, and truthful upwardly the edges with the plane laying on its side.
Conventional clamps are not an option for joining veneer sheets. Instead I butt the pieces up against each other, elevate i of the outer edges by a few millimetres and fix 10cm lengths of masking record across the 2 pieces. With one piece elevated, it creates a gap beneath the strips of tape, and when they're both laid apartment, the masking record actually becomes too brusque and its elasticity pulls the pieces together.
The veneer pieces are opened out so I can use Titebond Original gum, and with such thin pieces of forest, it's delicate piece of work. I apace lay the veneer sheets down on a flat board, with plastic packing tape nether the bring together so the veneer won't stick to the surface and the masking tape strips on the underside.
As I printing the pieces flat, the masking tape pulls them together. I carefully inspect the join line to ensure the pieces are well aligned, so I place a apartment piece of forest – again protected with plastic tape – over the join. This is clamped down to ensure the veneer remains as flat as possible. When I remove the clamps and the making tape, the result is almost perfect and I sand out whatsoever areas where there is misalignment.
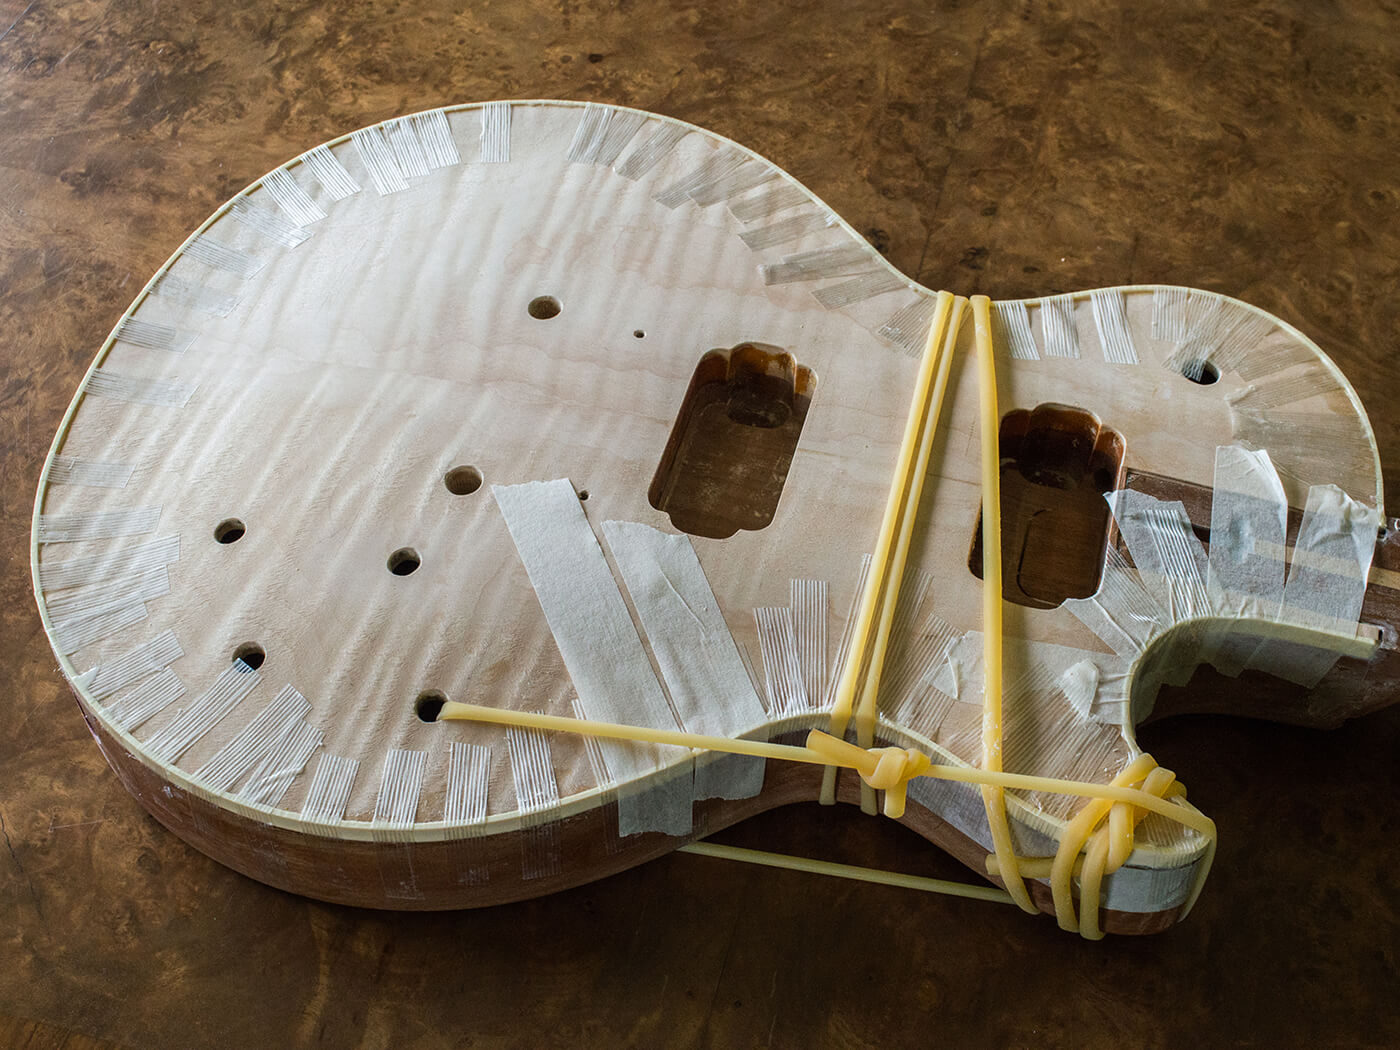
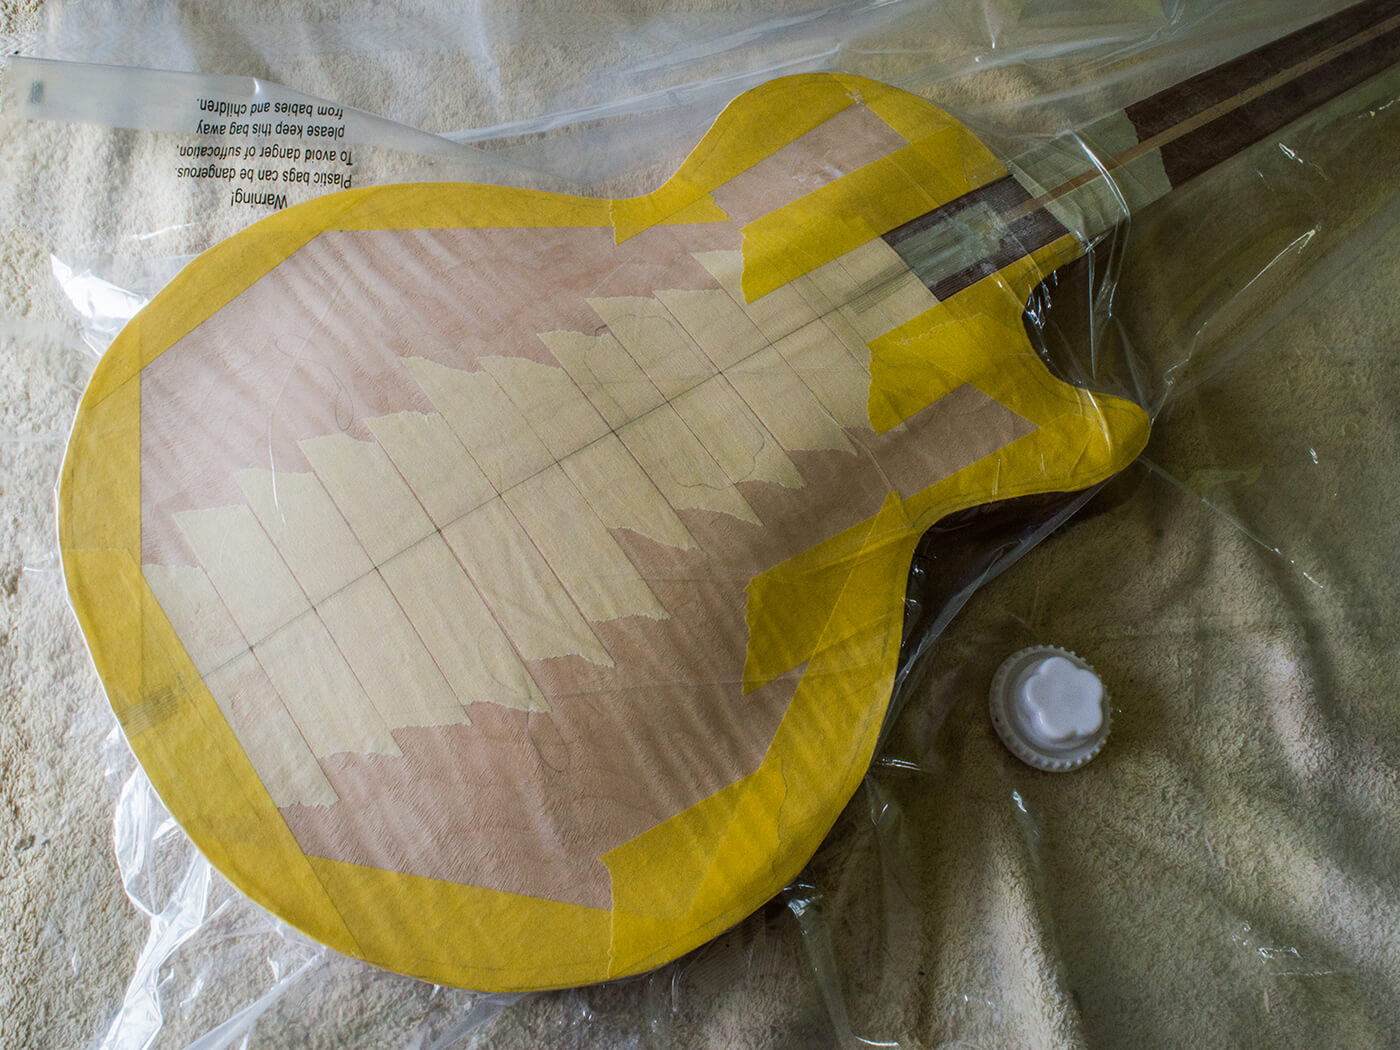
Having learned a lot from veneering my Goldtop, I ensure that there is minimal overhang and strengthen the edges with masking record to foreclose the veneer from cracking around the sharp edge of the binding channel. I also apply fresh strips of masking record across the bring together line as extra insurance against the veneer pulling apart under pressure. Having been unimpressed with Cold Press Veneer glue, I apply Cascamite with a roller. Subsequently 24 hours in the vacuum printing, the veneer is bonded to the pinnacle.
Back together
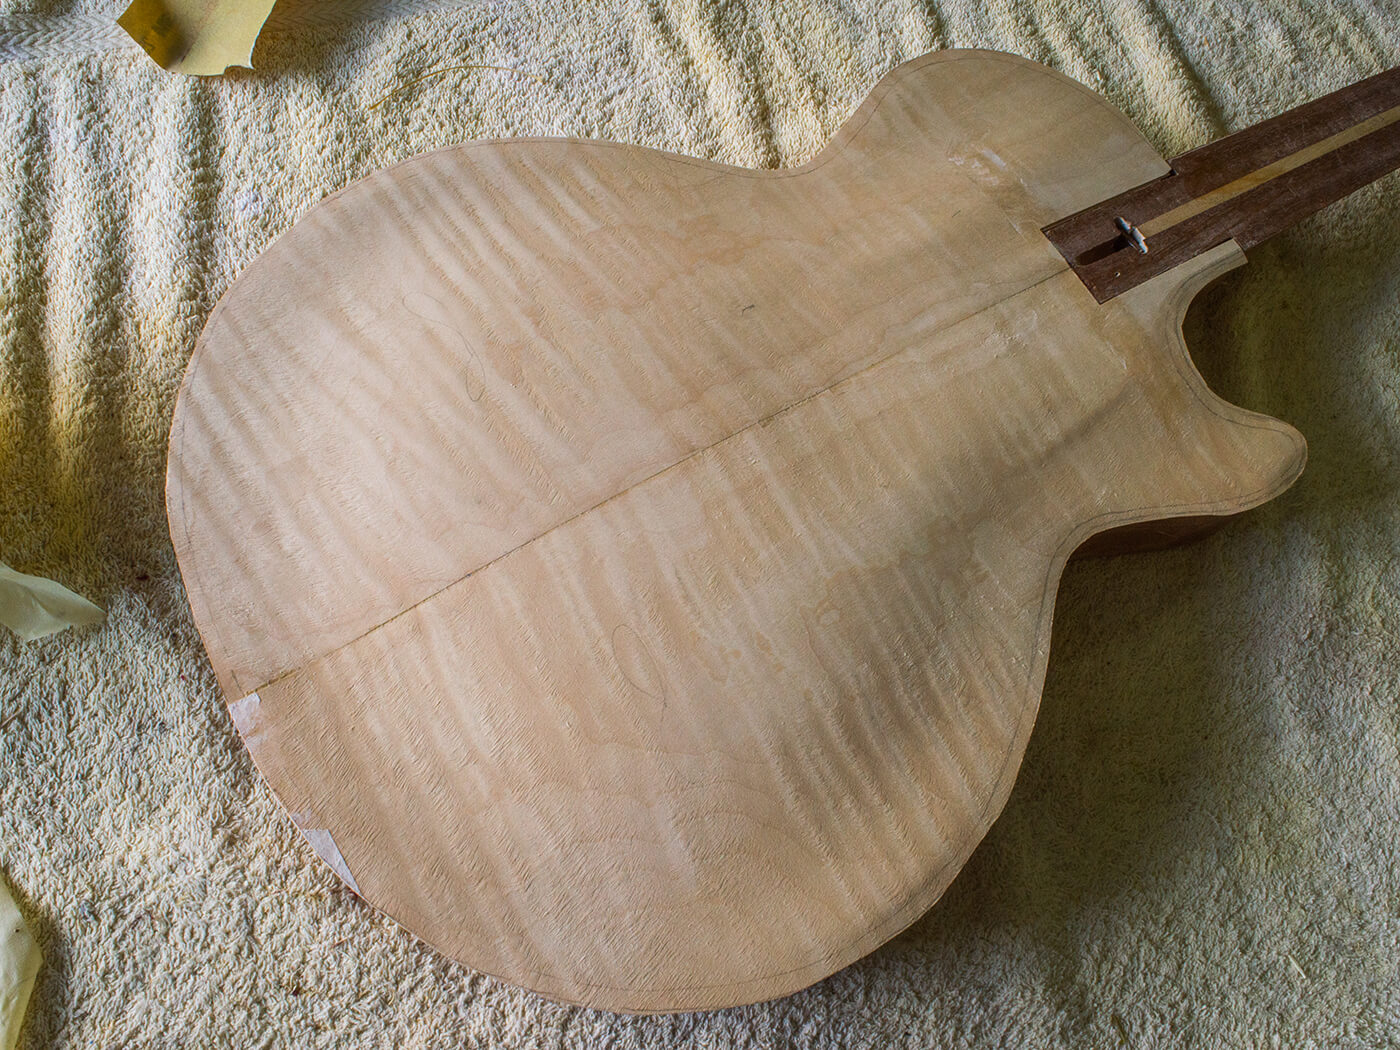
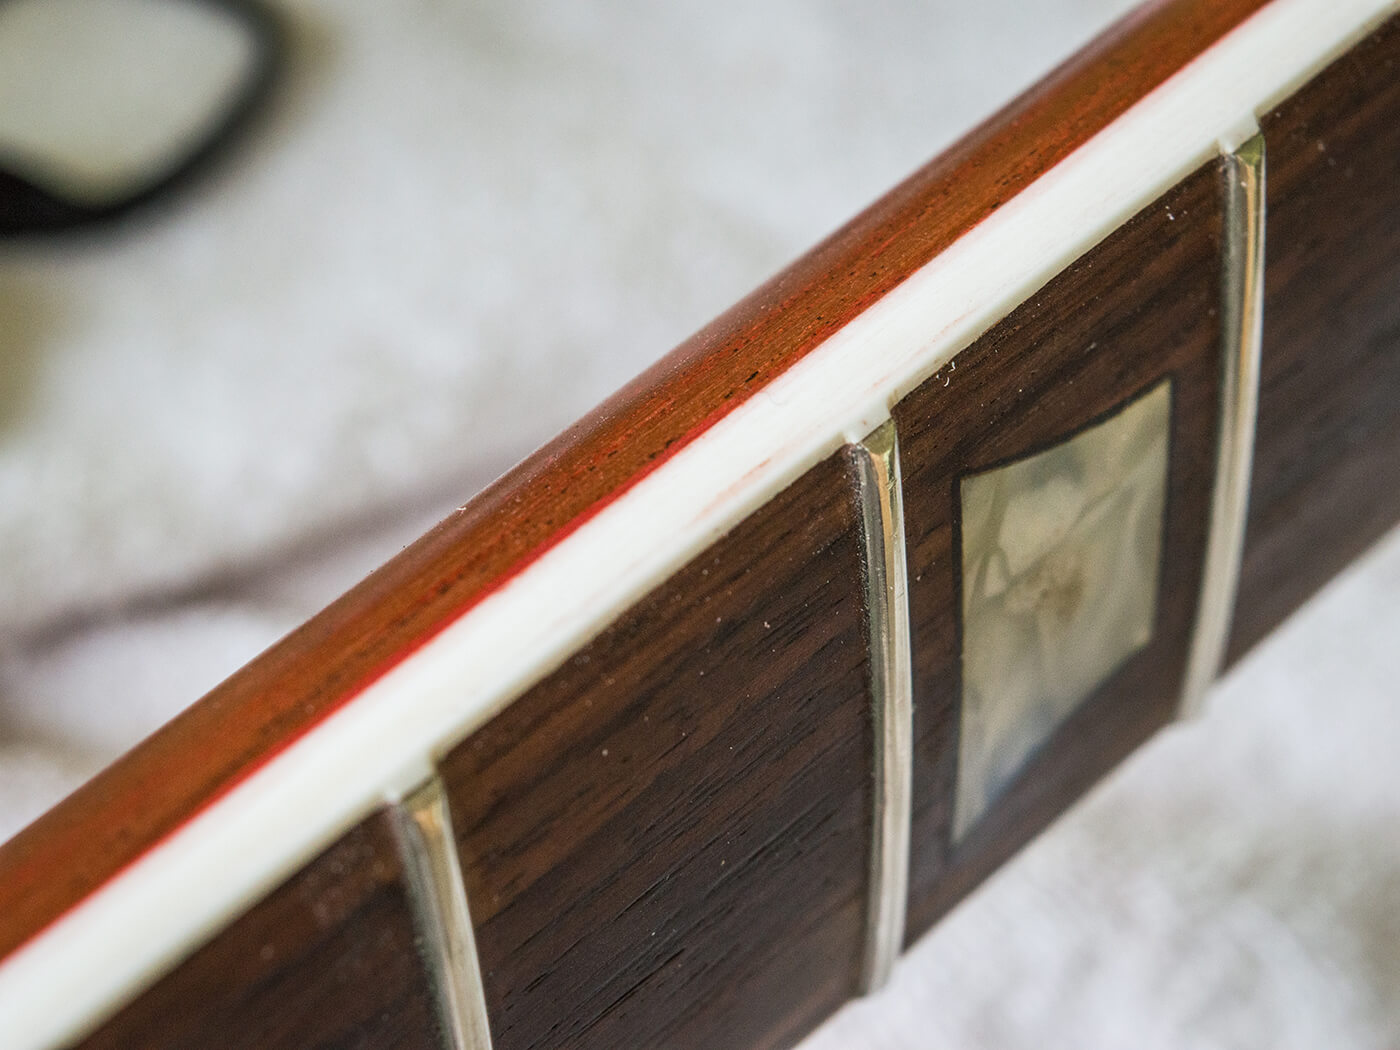
I clean up the veneer edges with a sharp chisel, remove whatever remaining residue from the binding channel and gum on the new binding. Finding off-white binding of the correct thickness for Grecos of this blazon is no easy task. I get mine from Eurospruce and it bends quite easily when heated.
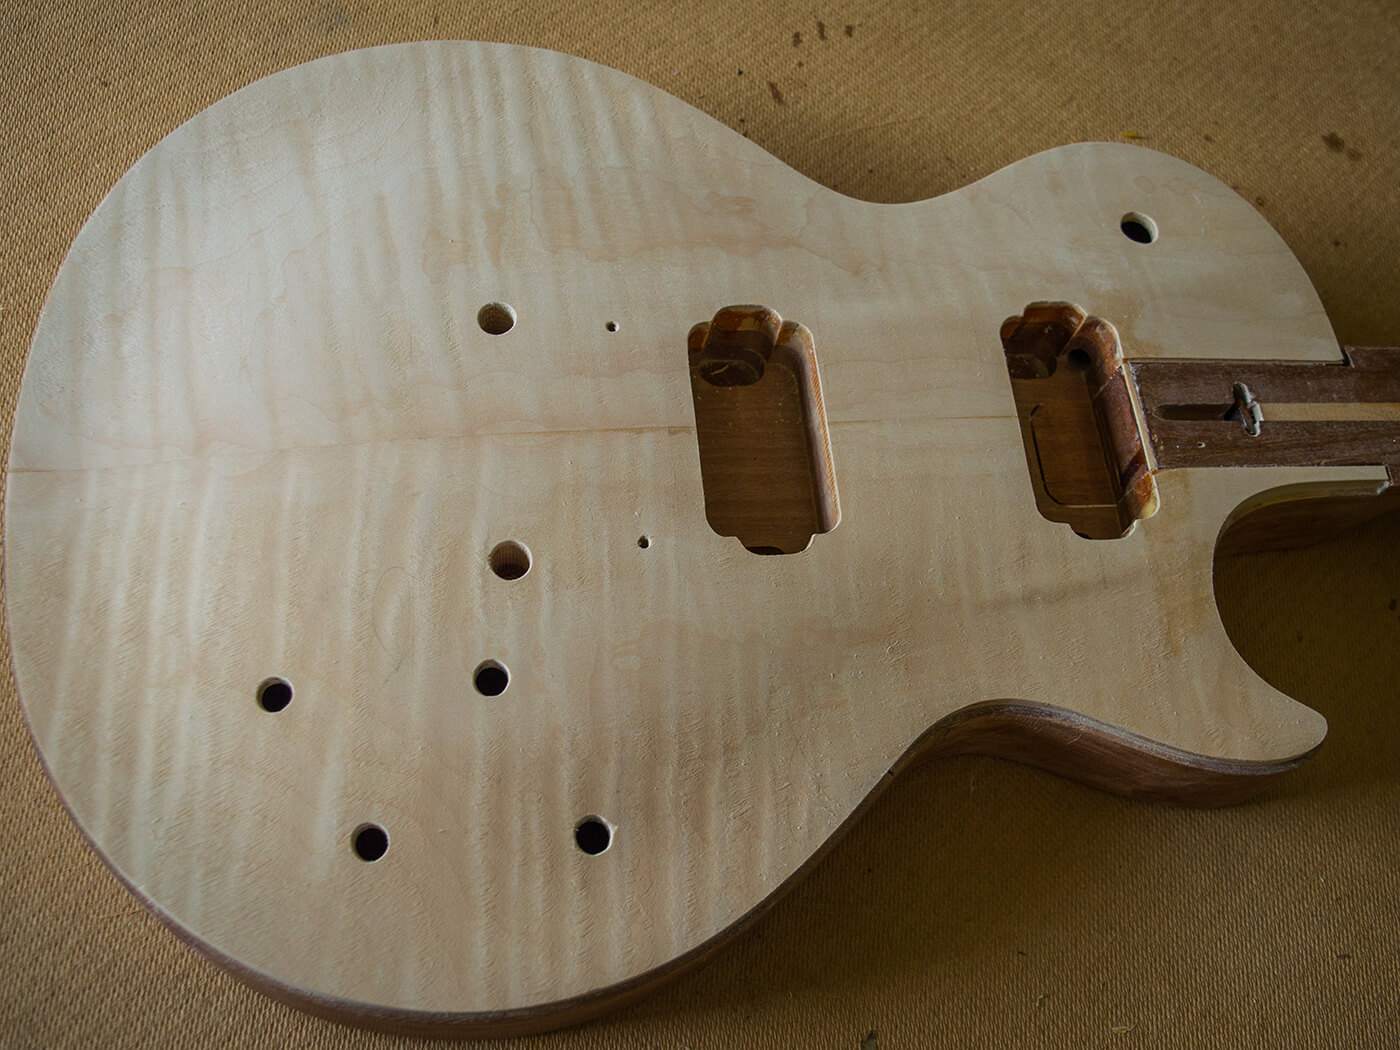
Fresh fretboard binding is needed due to the increased depth, and a plastic tortoiseshell option is sacrificed to make the side dots before the fretboard is glued dorsum onto the neck – one time the top veneer has been sanded level with the mahogany neck extension.
Afterwards the torso and cervix have been sanded, I reinstate the ground wire and tailpiece bushings, make a new nylon nut and put the guitar dorsum together to examination that everything is working properly before the finish is applied. I as well prefer to finesse the cervix profile with the guitar strung upwardly, using templates I've taken from various 50s Les Pauls.
Seeing red
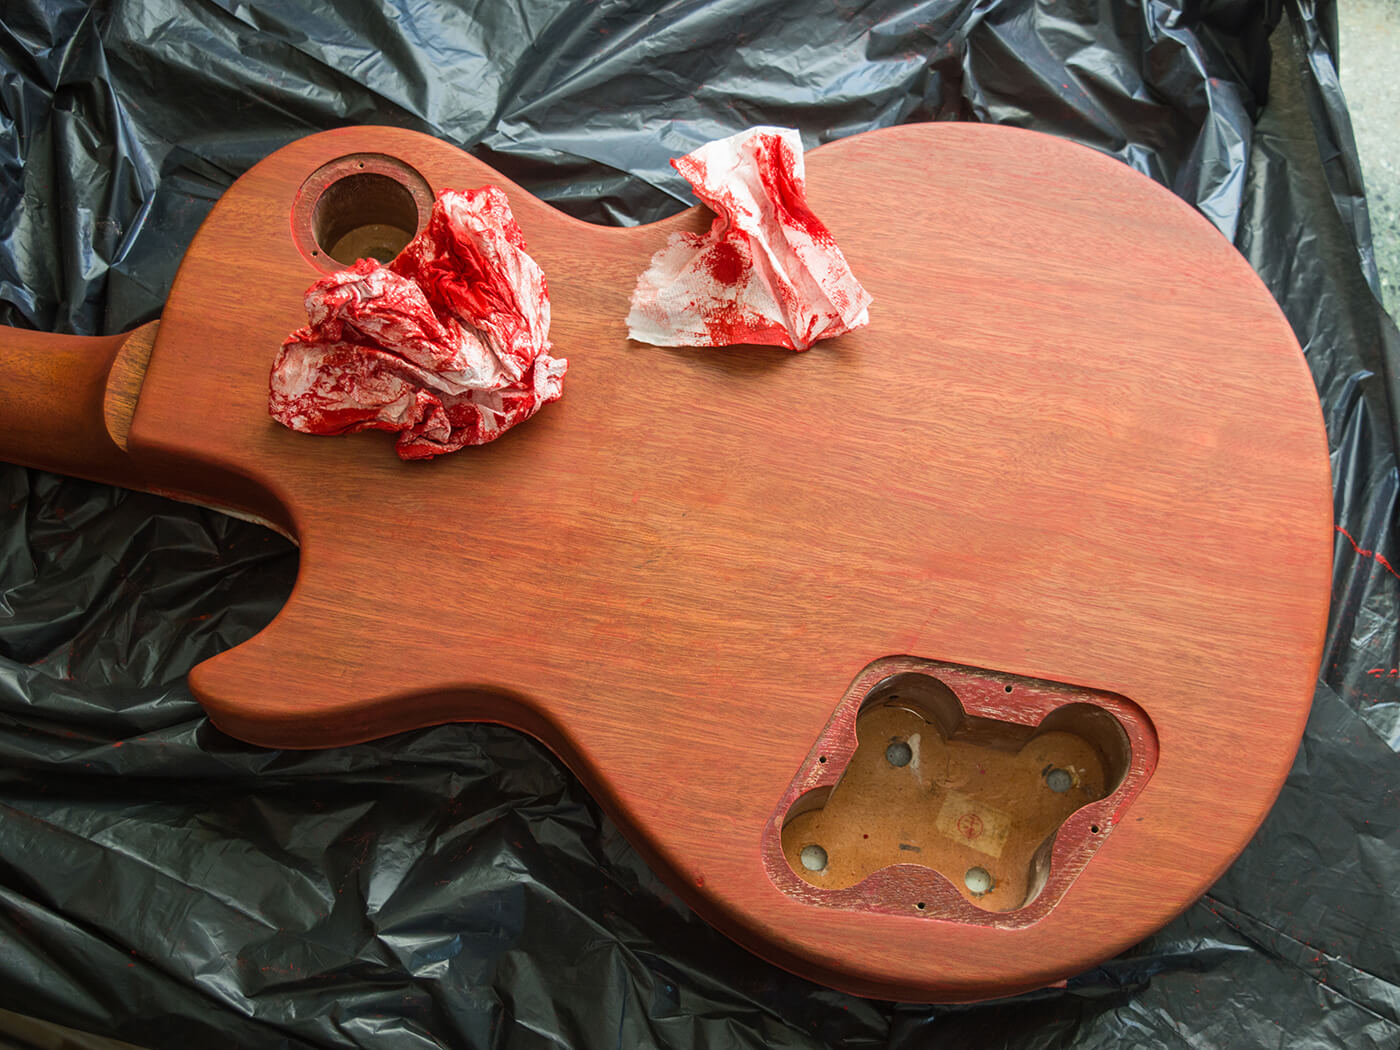
Gibson used reddish grain filler for 1950s Bursts and I determine to try Dartfords Thixotropic in reddish reddish. Grain filling is a messy and deadening process, only this stuff goes on and cleans up then nicely, it's a pleasure. Afterward leaving it overnight, it sands easily as well.
Applying the filler onto bare wood also stains the mahogany, and then the neck, binding and front end of the body need to exist masked off and protected earlier awarding. Afterwards sanding and wiping the trunk downwards with tack cloth, I remove all the masking tape, level the areas where the filler is raised adjacent to the tape lines, so apply fresh masking tape and protection for the front.
I start with a couple of mist coats of clear lacquer, and follow up with a couple of heavy coats of sanding sealer. These are flatted back with 320 dust paper to achieve a level surface before spraying colour coats.
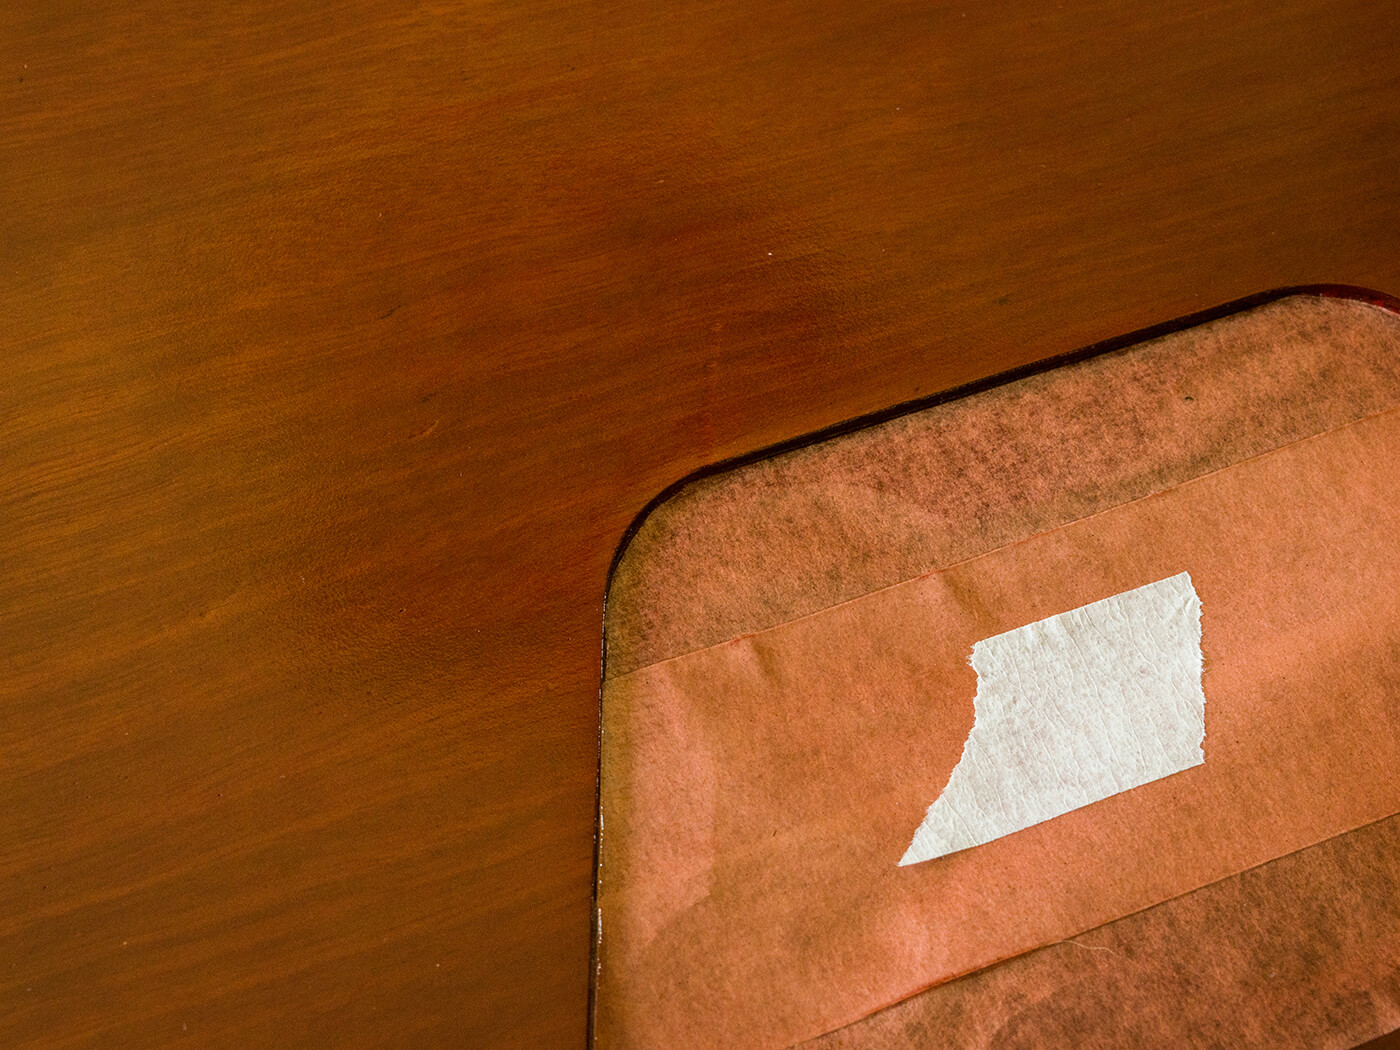
Using Manchester Guitar Tech'due south aniline reddish lacquer, I spray the neck and body with three coats. I'm pleased with the colour, but next time I might add a chip of black to the red grain filler to darken information technology very slightly.
Judging by my grain filler and lacquer tests on a scrap piece of mahogany, I'g confident it will wait even better when some tinted clear coats are sprayed on top. I remove all the masking tape and the plastic that's been protecting the binding and the front, and sand off any overspray.
Beginning to burst
Aniline dye's tendency to fade is key to my strategy for tying to make the sunburst to look more than like a vintage stop this time around, but first I need to mask off every function of the body that isn't maple. Spraying begins with a couple of sealer coats that are sanded to ensure that the surface is perfectly flat.
From what I tin can found, Gibson sprayed aniline yellow only here'south where things get complicated. Nobody sells aniline xanthous lacquer in aerosols, and so I'k going to exist mixing my own. The effect is, how can you lot spray lacquer that y'all've tinted yourself unless you accept a spray gun and compressor?
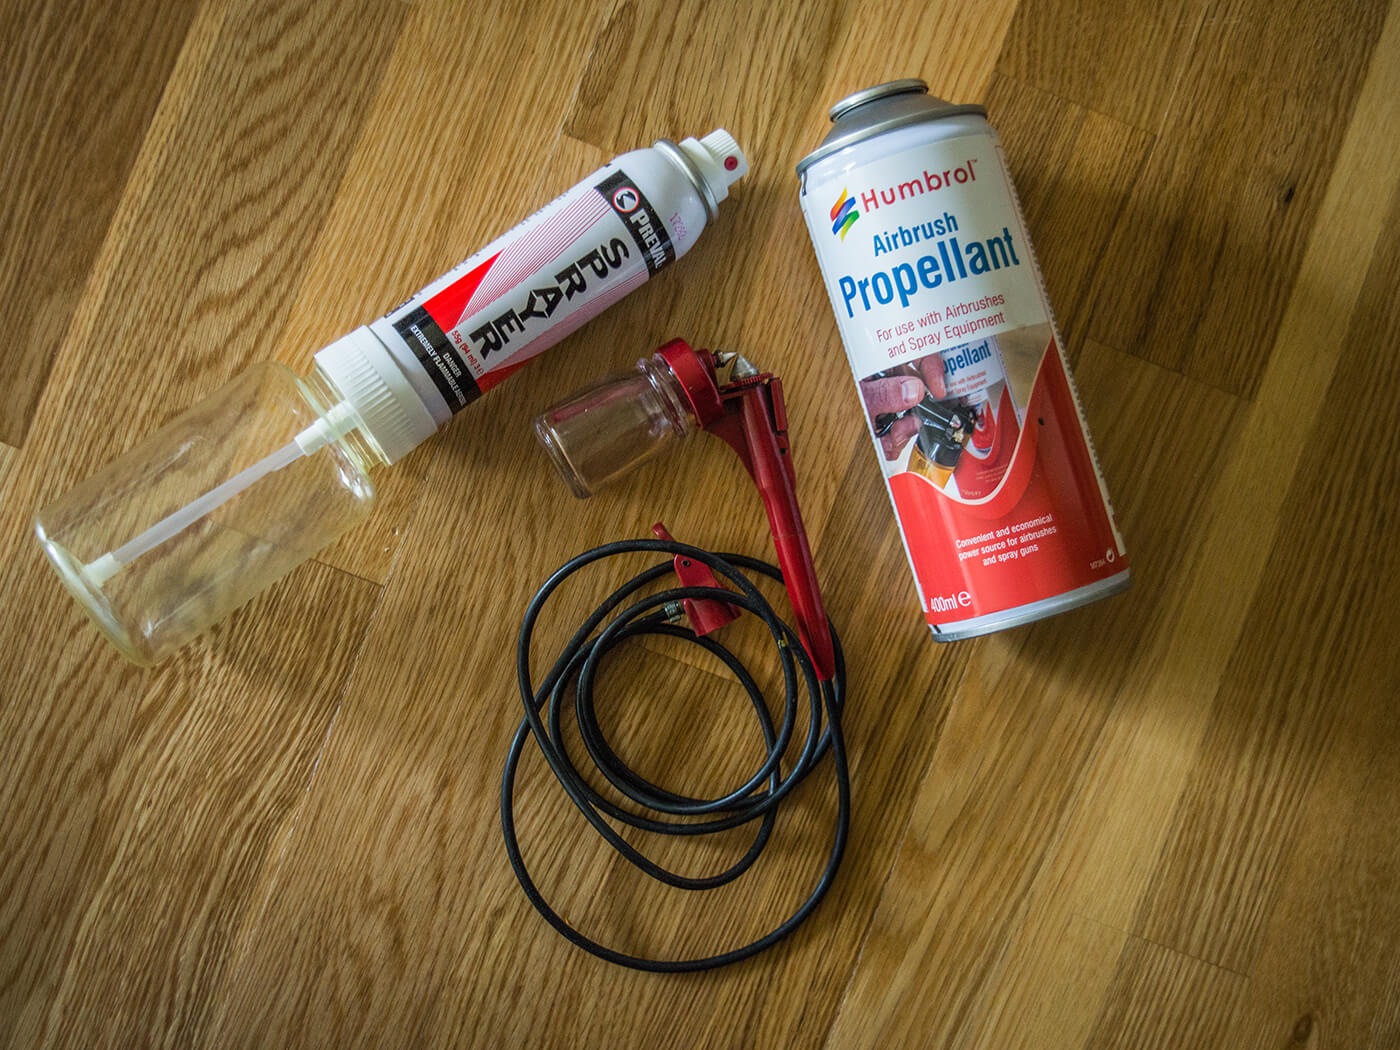
Fortunately, there are two solutions that are inexpensive and easy. The first is to buy a modelling airbrush and a tin of airbrush propellant. The total price shouldn't exceed £30 and they're widely bachelor.
The second is a Preval sprayer, which is basically an droplets that screws onto a plastic vessel containing your lacquer. This allows you to buy tins or bottles of articulate or coloured lacquer and replacement aerosol canisters are available separately. My Preval units come from morelli.co.u.k. and price £6.48 each. The program is to spray the sunburst colours using these two devices and spray the clear gloss coats using Manchester Guitar Tech's articulate gloss aerosols as usual.
Dyeing to know
Some alcohol soluble yellowish aniline dye pulverisation arrives from touchstonetonewoods.co.uk and information technology has to be dissolved to mix into the clear lacquer. I use isopropyl alcohol with a dash of acetone to aid the procedure. The pulverisation dissolves almost instantaneously then it'due south filtered through a 190-micron paint strainer as it's added to articulate lacquer. They look a bit like paper java filters and cost about 10 pence each on eBay.
The quantity of alcohol/acetone used to dissolve the dye should count as a office of your thinner mix. So, when cellulose thinners are added to the lacquer for spraying, yous'll demand less than usual. A lacquer to thinners/solvent ratio of about 60:40 should be fine.
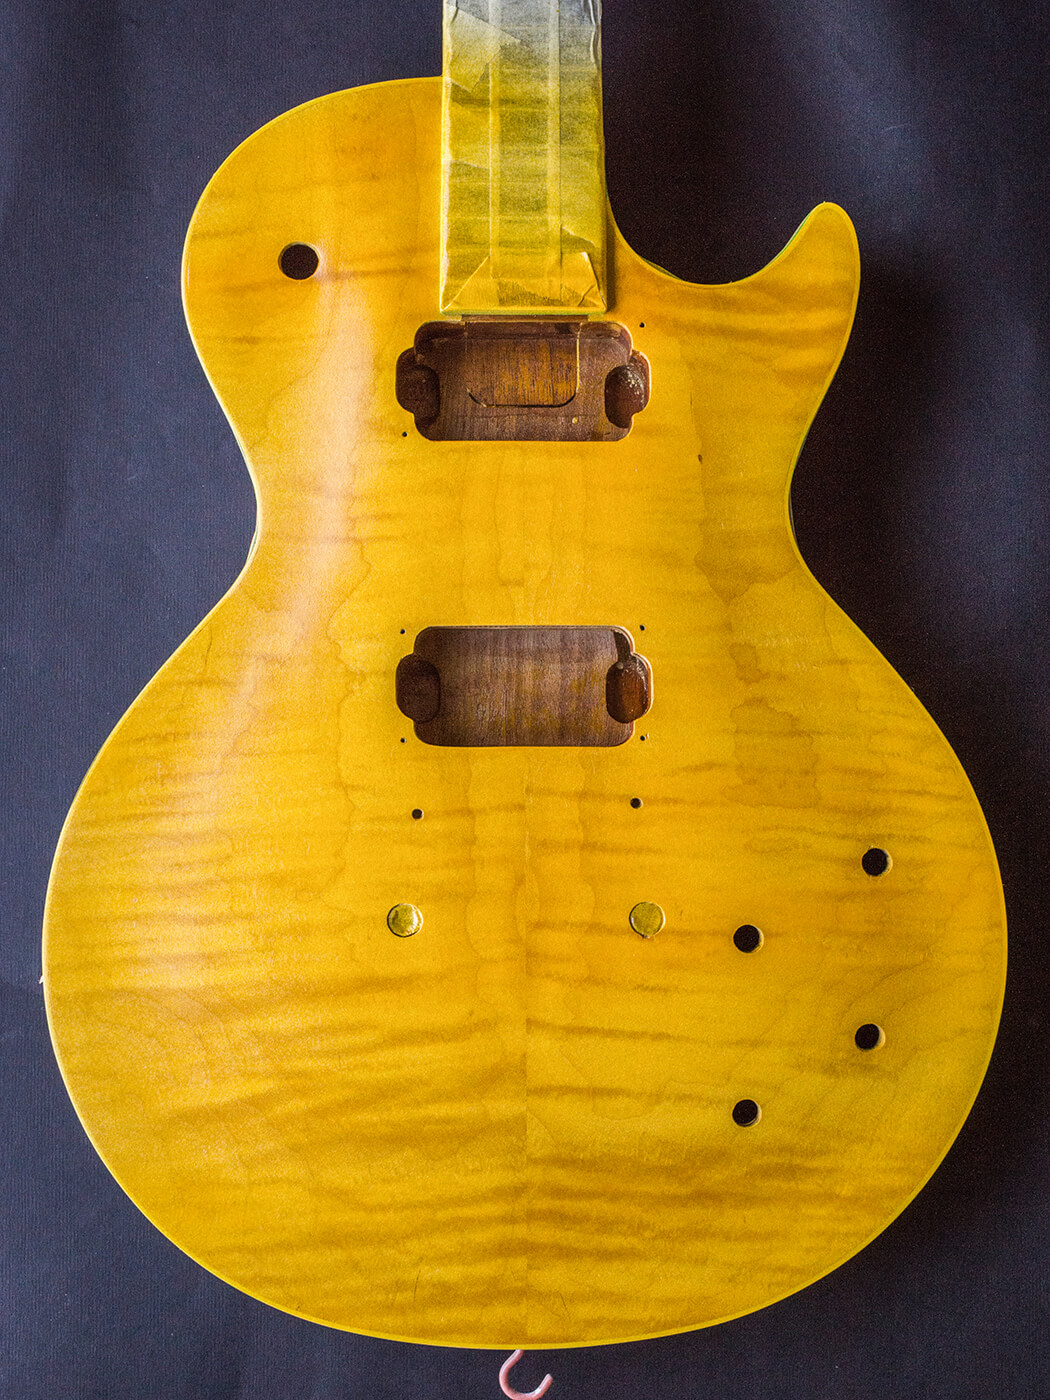
After spraying some test pieces with the aniline yellow, the results are closer to Gibson yellowish than off the shelf amber or tinted clear. It really makes the grain pop and has a distinct aureate hue, so I mask off everything that isn't maple and apply the Preval to cover the top. A couple of coats produces a stiff yellow, and I'm cyberbanking on it toning downward with a combination of fading and darkened acme coats.
In the shade
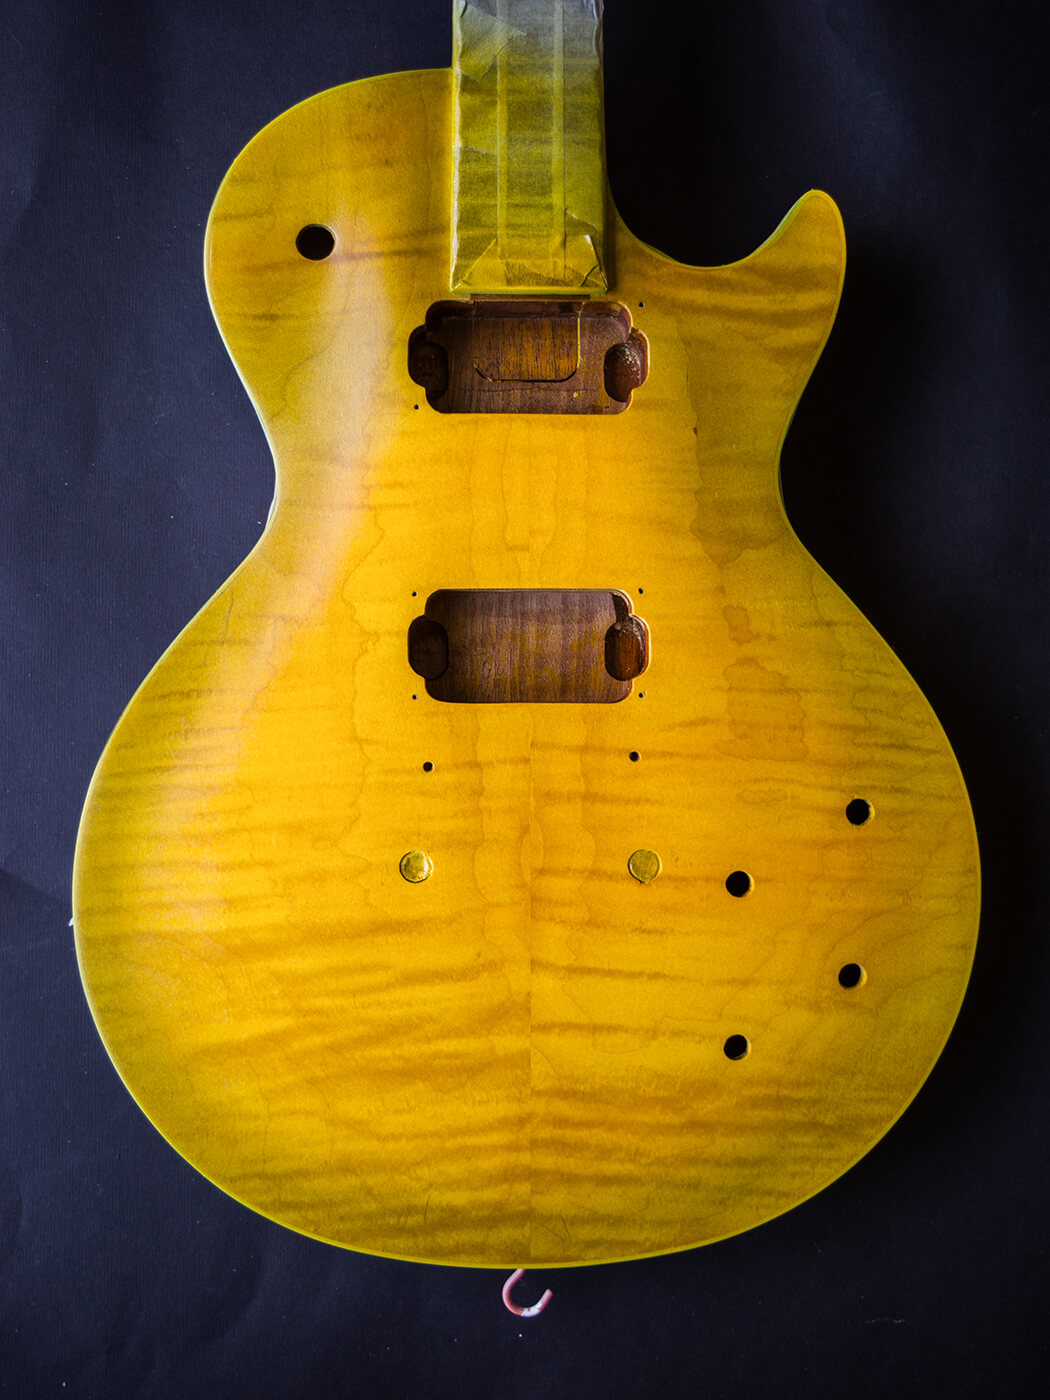
The next flake may surprise you, only I apply a affect of edge shading before the carmine. For this I mix blue, medium brown and a hint of black into some cellulose thinners. It ends up a sort of RAF blue/grey and I add gloss cellulose in a fifty:50 ratio to spray information technology with the airbrush. This allows me to employ a piffling at a time to accomplish a dark-green grey shadow around the edges and the resulting 'unburst' immediately makes the aniline xanthous expect mellower.
For the aniline red part of the bursting process I endeavor the cherry-red I used on the mahogany over some maple veneer offcuts I have previously sprayed with the yellowish and bluish/black shading. I find it a fiddling as well dark and the aerosol's trend to spit could show disastrous. Instead I attempt some pre-mixed aniline cherry-red from Eurospruce and when I spray it over the maple veneer, information technology looks most correct.
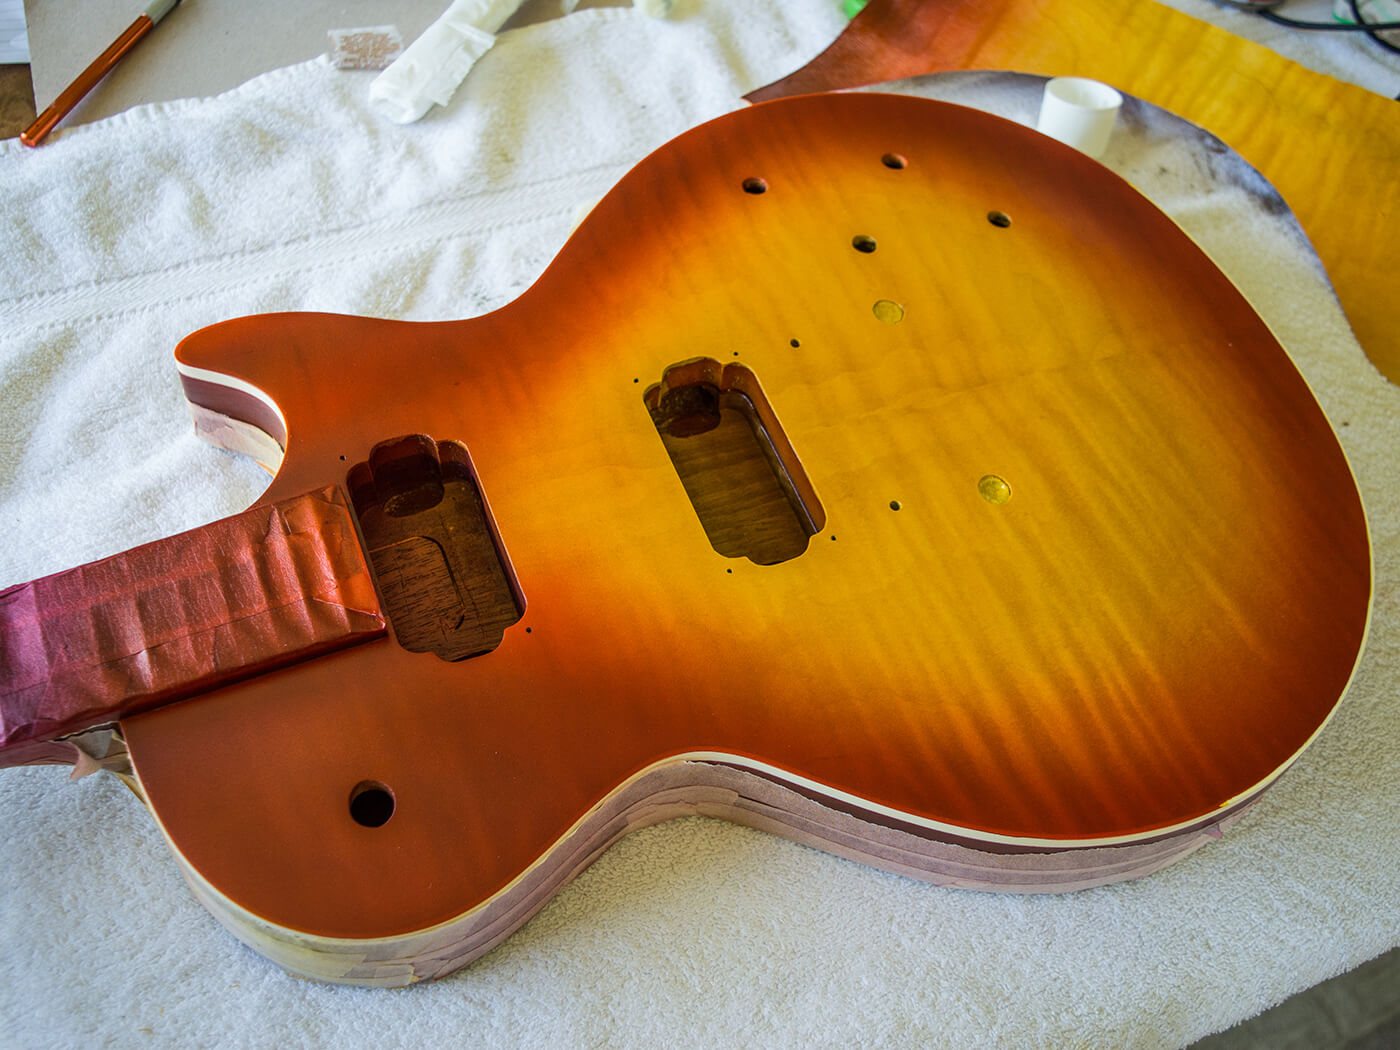
To get a really smooth transition from yellow to scarlet, skillful atomisation is needed. This means that the tinted lacquer exits as a very fine mist rather than larger aerosol. My airbrush has better atomisation than aerosols and the Preval system, and so that'due south what I utilize.
Colour depth and shade tin can vary dramatically as lacquer dries and your perception volition vary in different lighting conditions. My communication is to spray a footling at a time and build the burst up gradually. And then long equally the lacquer is stored in an airtight container, it will keep and there'southward no need to spray the whole burst at once if you're new to this.

It seems convoluted, but being able to mix your own colours ways that yous should exist able to become the exact look that you want – admitting with a piddling practice. I'm reasonably pleased with this sunburst from a technical perspective, but information technology'south odd to be intentionally spraying a 'outburst that I don't particularly like in the expectation – or hope – that natural processes volition transform it into the finish I really want.
Some binding scraping and heavy coats of clear gloss bring this part of the procedure to a close. In the final instalment of this project we'll observe if the aniline dye really does fade and how the overall look can be fine tuned using a very special tinted lacquer that y'all tin make yourself. I'll likewise be doing some relic'ing before reassembling, so check in soon to see the completed guitar.
For more DIY workshops and guides, click hither.

Source: https://guitar.com/guides/diy-workshop/how-to-spray-a-1950s-style-cherry-sunburst-finish/
Posted by: ammonsinho1956.blogspot.com
0 Response to "How To Paint A Burst Finish Guitar"
Post a Comment